

How to Create a New Facebook Ad Account: A Complete Beginner’s Guide for 2025
Table of Contents
Why Facebook Ad Account
Imagine being able to grow your business by reaching thousands of your ideal clients, without needing to post all day on social media. Facebook ads make that possible, and setting up your ad account is the first step.
With over 3 billion active users on Facebook and its connected platforms like Instagram, the advertising potential is massive.
A dedicated ad account lets you reach your target audience, track performance, and manage campaigns—all in one place.
Let’s break it down.
Prerequisites for Setting Up a Facebook Ad Account
Before jumping into Facebook advertising, there are a few things you need to have in place. Starting an ad account is simple, but it’s important to know what to expect.
- A Business Portfolio account (formerly called Business Manager). This is where you’ll manage all your assets.
- Payment information ready to set up.
- A basic understanding of compliance with Facebook’s ad policies (don’t worry—I’ll cover this).
Want more in depth instruction? ⬇️

It’s the blueprint for getting your Meta Business Account set up and ready to go!
Take the first steps to adding the power of Meta Ads to your strategy
Business Portfolio
Business Portfolio is like your command center for managing ads and assets. Think of it as the hub where everything stays organized, especially if you’re running multiple ad accounts or working with a team.
Facebook, now Meta, is notorious for making frequent changes—not just to their dashboard layout, but also to their platform terminology. If you’ve been researching and feeling confused, here’s a quick clarification:
- Facebook Business Manager changed to Meta Business Manager, but NOW it’s called Business Portfolio.
If you haven’t set up a Business Manager account yet, it’s a quick process, and Facebook guides you every step of the way.
Step-by-Step Guide to Creating a New Facebook Ad Account
Step 1: Logging into Facebook Business Manager
- Visit Business.Facebook.com
- Use your Facebook Account Login information
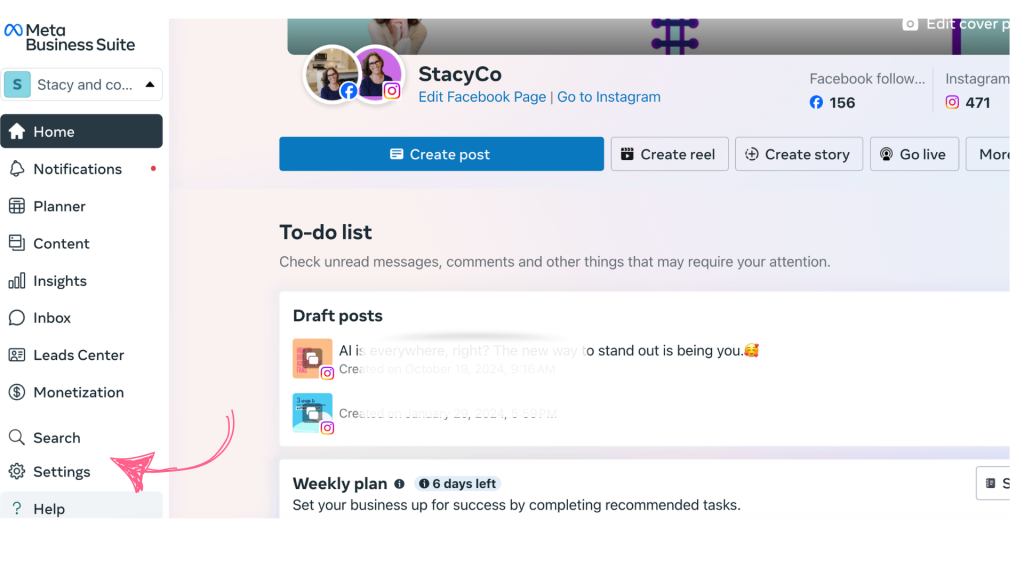
- Navigate to the home page and left hand side- settings
What’s up with all the different names?
Meta’s platform often looks slightly different for everyone, depending on updates. Yours might have different labels, but the tools will be in the same general area
Once inside, navigate to the homepage. You’ll see tools and settings displayed on the left hand side menu. Look for the option labeled Business Settings—this is your starting point for creating or managing ad accounts.
Step 2: Adding a New Ad Account
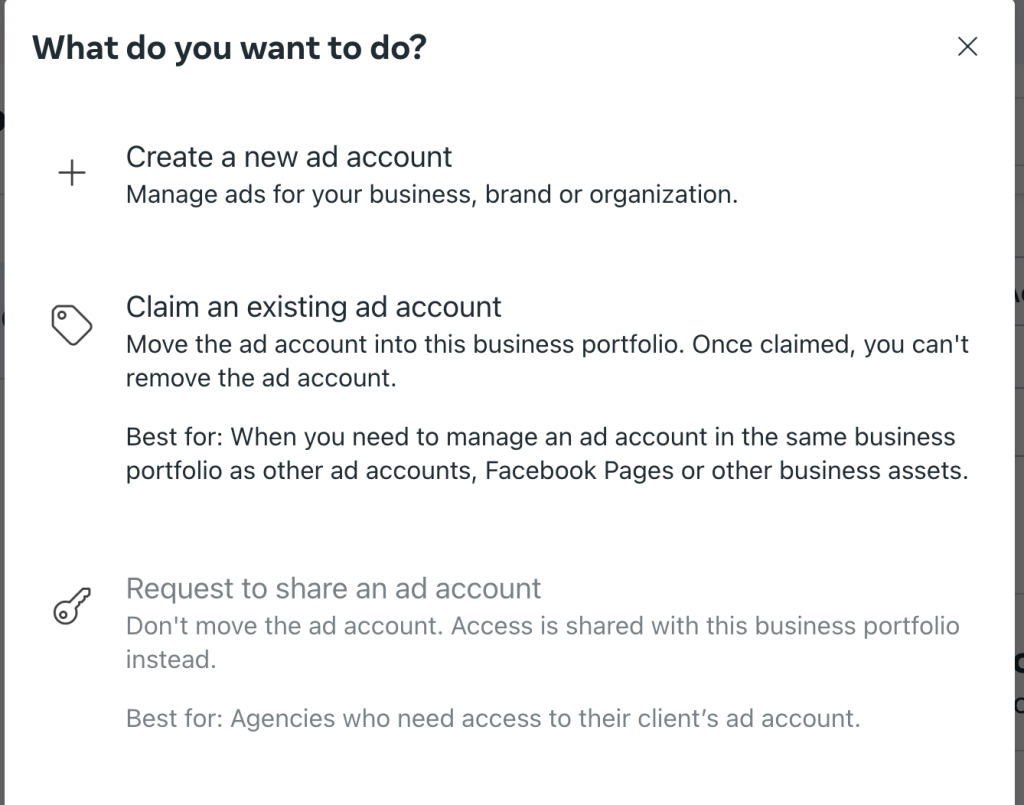
- In Business Settings, go to Accounts > Ad Accounts.
- Click the blue “Add” button.
- Select Create a New Ad Account from the menu.
Step 3: Setting the Ad Account Name and Currency
Facebook prompts you to name the ad account and pick the currency for payments. Both details are crucial, so take your time to get them right.
- Choose an ad account name that’s clear and professional. Example: “Your Business Name – Ads” or “Client X (if you’re managing accounts for clients).
- Select your currency—make sure it matches your payment method to avoid unnecessary exchange fees.
Pro Tip
Once you set the currency, it can’t be changed, so double-check before continuing.
Step 4: Add Payment Information
- Navigate to Payment Settings in your account.
- Enter your preferred payment method (credit card, PayPal, etc.).
- Always add a backup payment method to avoid campaign interruptions if the primary method fails.
Pro Tip
Let your credit card company know to expect multiple small charges from Facebook. Meta has a low spending limit when you start (usually $25-$50), and they’ll bill you frequently in small amounts. This can trigger fraud alerts if your bank isn’t aware.
Step 5: Assigning Permissions
If you’re working with a team or an agency, you’ll need to assign roles to give others access to your ad account.
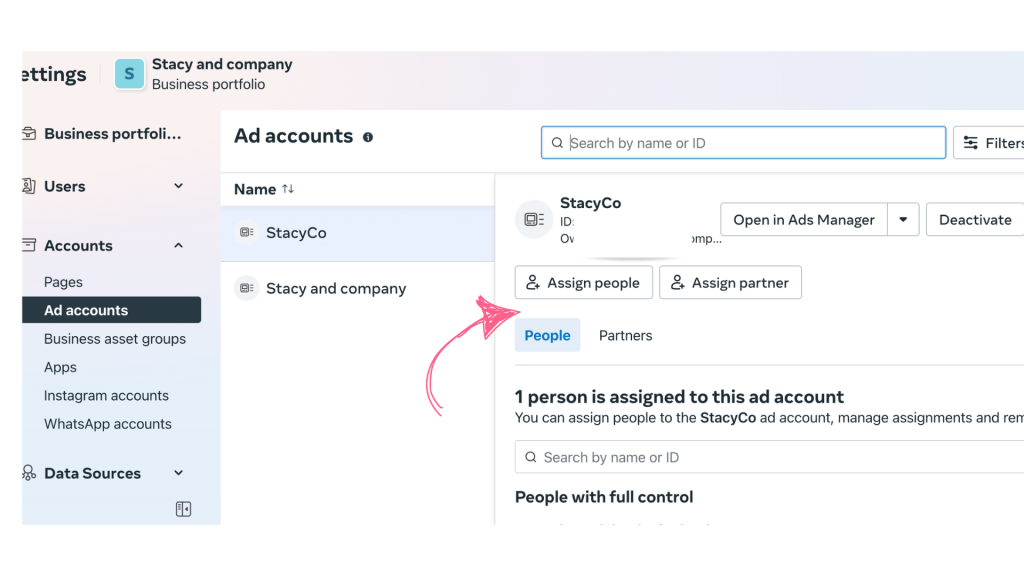
- Click Assign to send them an email invitation.
- In Ad Accounts > People, click Add People.
- Enter team members’ email addresses and assign their roles:
- Admin: Full access to settings, billing, and campaigns.
- Advertiser: Can create/manage ads but not adjust payment info.
- Analyst: Can only view performance data.
Click Assign once you’ve selected the appropriate access level. Team members will receive an email invitation to join.
Proper roles will keep your account secure.
Pro Tip
Only assign roles to people you trust completely to maintain account security.
Step 6: Install Facebook Pixel
The Meta Pixel is a tiny snippet of code you place on your website, but its impact is huge. Even if you’re not running ads now, installing the Pixel will help you collect valuable data for future campaigns.
Why Install It Now?
- Tracks Visitors: Starts gathering data from Day 1.
- 6-Month Retargeting Window: If you start ads in six months, you can target everyone who visited your site during that time.
- Ad Optimization: The Pixel helps Meta show your ads to the people most likely to take action.
Example: Install your Pixel in January. By June, you’ll already have six months of data to retarget website visitors.
Clients who skip this step often regret it—“seasoning the Pixel” is crucial for better ad performance later.
What are the benefits of the Meta pixel?
- Conversion Tracking: See how many visitors completed actions like purchases, sign-ups, or adding items to their cart.
- Ad Optimization: The Pixel collects data to help Facebook show your ads to people most likely to convert.
- Building Retargeting Audiences: Re-market to users who visited your site but didn’t take a desired action. Have you ever seen ads for a product you looked at yesterday? That’s the Pixel at work.
- Performance Analysis: Measure the success of specific campaigns by tracking user behavior end-to-end.
Without the Pixel, you’re essentially flying blind. It’s like trying to judge how well a car runs without checking under the hood.
By putting this tool in place, you’re able to sharpen campaigns and make data-driven decisions.
Where is Meta Pixel located?
You can read more about where to find it here, but you will go to settings, data sources, and data sets or pixel.
If you don’t have one (which would make sense because your account was just created) you can add one.

Maintaining Compliance with Facebook Policies
Meta is on high alert with new ad accounts, so following the rules is essential to avoid account suspension. It’s annoying but necessary to keep the platform ethical and legal.
Key Rules to Know and Follow:
- Read Facebook’s Ad Policies: Bookmark them and review them before publishing any ad. I like to schedule a monthly reminder to check for updates.
- Avoid Restricted Content: Don’t advertise illegal drugs, CBD, firearms, or too much skin (even fitness/before-and-after photos).
- Stick to Accurate Language and Images: No exaggerated claims or misleading ads.
As with all 3rd party platforms that we borrow, we need to follow the rules, or risk getting kicked off, and unfortunately, it can sometimes be difficult to get your account back.
Pro Tip
Before you hit publish, run a quick compliance check. This “better safe than sorry” approach will save time and headaches.
There you have it
Creating a new Facebook ad account is your first step toward reaching a larger audience of ideal clients and customers.
Frequently Asked Questions
Do I need a business website or Facebook page to create an ad account?
You need at least a Facebook page. A website isn’t required, but it’s helpful if you’re driving traffic outside of Facebook. The more you link your business assets, the better your ad campaigns will perform.
Is there a cost to create a Facebook Ad Account?
Nope. Creating an ad account is free. You’ll only get charged once you start running ads, based on your budget and billing method.
How many ad accounts can I create in 2025?
The default limit is one per user when you start out. As your account gains trust and spends more on ads, Meta may increase your limit. If you need more accounts, you can request approval or add them through your Business Manager.
Can I share access to my ad account with other people?
Yep! Go to Business Settings → People and add the person you want to give access to. You can assign different roles, like Admin, Analyst, or Advertiser, depending on what they need to do. Just make sure they’re trustworthy.
What’s the difference between Ads Manager and Business Manager?
Ads Manager is where you create, view, and manage your ads. Business Manager is the bigger tool, managing all your business assets (ad accounts, pages, teams, and payments). Think of Business Manager as the umbrella and Ads Manager as one tool underneath it.
Can you help? I don’t want to do this.
Absolutely! Click here to schedule a chat!
Next Steps: Ready to Grow?
Congratulations—your ad account is set up! Now it’s time to think about your goals:
- Are you looking to boost brand awareness?
- Want to drive more sales for a product?
Before spending money, make sure you have a clear strategy in place, so you get the best return on your investment.
Download My Free Meta Ad Set-Up Blueprint
If you’re ready to take the next step, my free guide will walk you through everything in even more detail. Download it below to make setting up your ad account a breeze!


